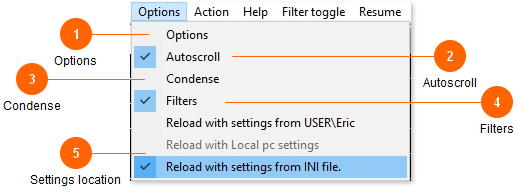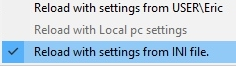
'Reload with settings...' is the safe way to tinker around (switch) settings locations without overwriting any of the other settings locations.
Alternatively, When you want to modify, overwrite, copy, import, or export settings, use the 'Save settings to' section of the Misc tab.
For maximum flexibility, your custom settings can be stored in 3 different locations:
User section of registry:
Settings stored here will be loaded only for the current user in Windows. Different users can have different settings. In a Windows-networked environment the user's settings will be synced to any pc the user logs onto.
Local pc section of registry:
Settings stored here will be available for all users of the current pc. Any new users who load the program will start off with the local pc settings. Individual users can still define custom settings for themselves.
*Local pc is disabled in Windows 7.
INI file:
With the constant threat of viruses and spyware, network admins may resort to locking down user permissions to modifying the registry. If this is the case you may encounter errors when trying to save your settings to the registry.* You can either request to be given administrative rights or use an INI file to store your settings. The INI file resides in the OLMonitor folder and circumvents any issues with registry permissions. The settings in the INI file are available to all users of the pc. The INI file can also prove useful for copying settings from one pc to another.
There is more complete info about working with options in the options window here.
If you are using Windows 7, the Local pc option is disabled since this portion of the registry has been locked down for the most part.
*Note: On the first run of OLMonitor a test of the read/write abilities to the registry is performed and displayed. This should give you an idea of which location to use.
There is now a special program you can use to manage your settings: Ol Monitor Settings Manager